Uncategorized
Adding Our 850hp Fuel Package to a 2006 Dodge Cummins
Todd’s a bit excited in our latest blog post. We’re adding one of our 850hp common rail fueling packages to Todd’s 2006 5.9L Dodge Cummins. Todd uses this as his tow truck, pulling trailers, toys, trucks, and more, and we wanted to see what kind of power our new compound towing turbo system for the 5.9L common rail Dodge was capable of creating.
What the 850hp Common Rail Fuel Package Includes
We offer several fuel packages to help your truck reach a desired power goal. All packages include everything you need in the fueling department to reach the stated power numbers. The 850hp common rail fuel package comes with the following:
200HP 60% Over Injectors
85% Over CP3
And either
PDD EFI Live Tuning
Autocal
CSP5 Switch (Optional)
or
PDD MM3 Tuning
MM3
Optional but recommended turbo
S369SX-E S372SX-E 3rd Gen Drop in Turbo
Todd’s truck already has an EFI Live tuner installed and has made a respectable 550hp on the dyno at the shop. Also, while we’ve got the engine opened up, we are also going to upgrade the valve train and install new springs, pushrods, etc.
Getting the Engine Apart for the Install
While this isn’t a comprehensive how-to post, we did want to make sure we cover how we went through installing these parts. The first thing to always do is disconnect your negative battery terminal. Once the terminal is disconnected, you need to remove your intake horn. Make sure to cover your intake opening with a rag or something to keep debris, parts, bolts, and more from accidentally falling into your engine.

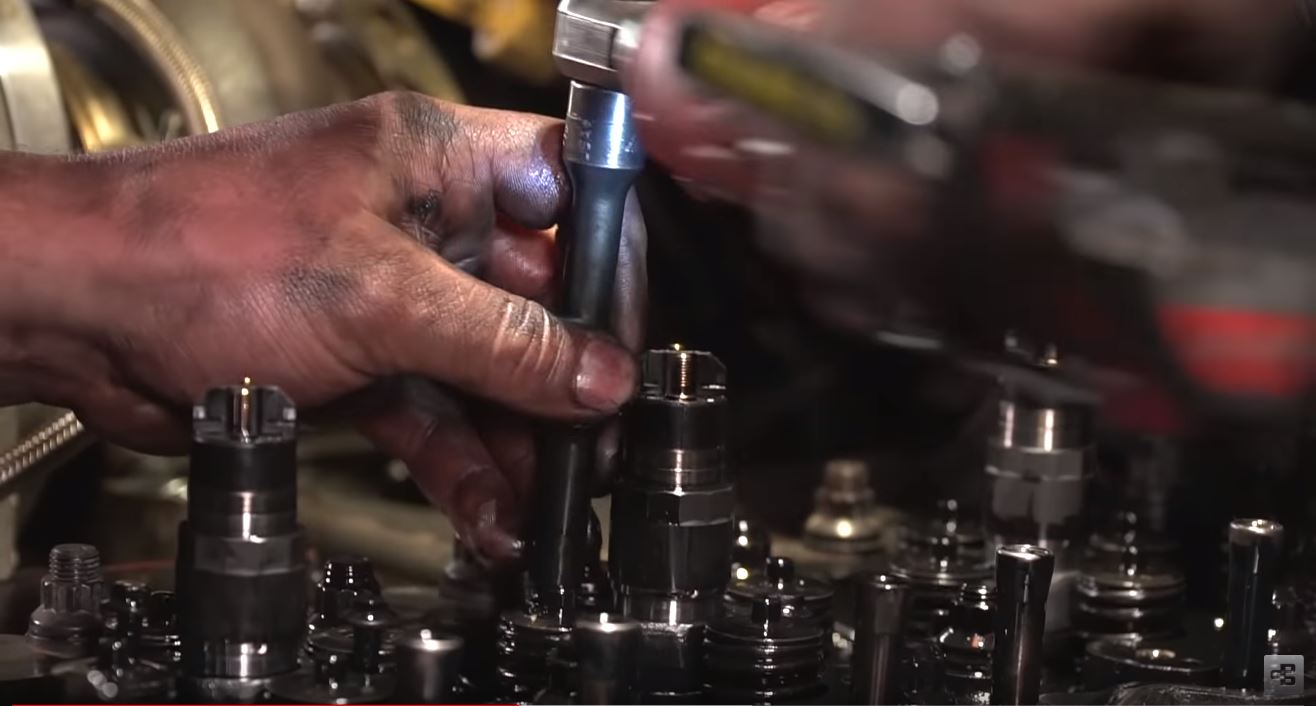
After the intake horn is off, you can remove the valve cover. Then, you remove the injector wire harness by disconnecting plugs at each end. Remove the nuts on each injector and your injector harness can come out. Technically you don’t have to remove your rocker box, but taking it out frees up a lot of space and time. After the rocker box is out, we like to remove the rocker arms as well to give yourself more room. Just remove the two bolts in each rocker assembly and remove the entire assembly. Just make sure you put the rockers back on the same cylinder when you reinstall them.

Like p-pump engines, common rail engines also have an injector line going to each injector, but they come from a single rail – a common rail. You need to disconnect each line and remove the rail from the engine. Then, you remove the nut that holds the crossover tubes and the crossover tubes themselves. Now, just remove the two small bolts holding your injectors and they are ready to come out.

Once your injector is out, make sure it has the copper washer on it. If its not on the injector, it’s still in the hole and needs to come out.
Putting in New Injectors</h2
Once you reach this point, you’re ready to put in your new injectors. There is a specific sequence in which the injectors need to be installed. First, you put the injectors in, then the crossover tube. Once these are in, you torque the injector a bit, then the tube, then torque the injector to its specs, then the tube. We aren’t covering it all here, but you can find plenty of resources with a quick search online.

After the injectors are in, it’s time to install the rockers. When you put your rocker bridges back on, make sure the dot on the bridge is on the exhaust side of the engine. Now the rocker assemblies are ready to go in. Make sure assembly one goes over number one, etc. This is also a good opportunity to check your valve lash while you’ve got the engine open.
As you reinstall your rocker box, make sure the rocker box gasket is installed correctly. Often, it will get rolled and cause problems. Double check this. It’s now time to replace the injector harness. This is an electrical harness and gasket in one, so just replace it and reconnect the pigtails that control the injectors. Next, put the injector cover back on and we’re ready to reconnect all our harnesses and electronics.

Before we reconnect the rail harness, we did a quick CP3 swap. This is very simple and this is the perfect time in this process to make this swap. Now the rail and rail lines go back in, reconnect the intake horn (making sure to remove the rags blocking it).

Now that everything is connected and installed, you can turn on the engine and start cranking to repressurize the lines and drive your truck.
To do some quick testing Todd took out the truck for a little road test. Check that video out below:
Pick up one of these power kits for your common rail Dodge here. If you have questions about these kits, installing them, or anything else for your diesel truck, give us a call at 435-962-9555 or text us at 435-962-9506 or leave us a comment below. Don’t forget to follow us on YouTube, Facebook, and Instagram for more product tests. Leave us a comment below about what you’d like us to cover next.

